Installing submersible lights in your pool can add a touch of elegance and ambiance to your backyard oasis. Not only do they look beautiful, but they also increase the safety and functionality of your pool by providing visibility at night. In this blog post, we will go over the steps to attach submersible lights to your pool and the different options available to you.
6 Steps for How to Attach Submersible Lights to Pool
Step 1: Determine the type of submersible lights you need
The first step in attaching submersible lights to your pool is to determine the type of lights you need. There are several different options available, including:
- Incandescent lights: These are traditional pool lights that use a bulb to create light. They are affordable and easy to install but are not as energy-efficient as other options.
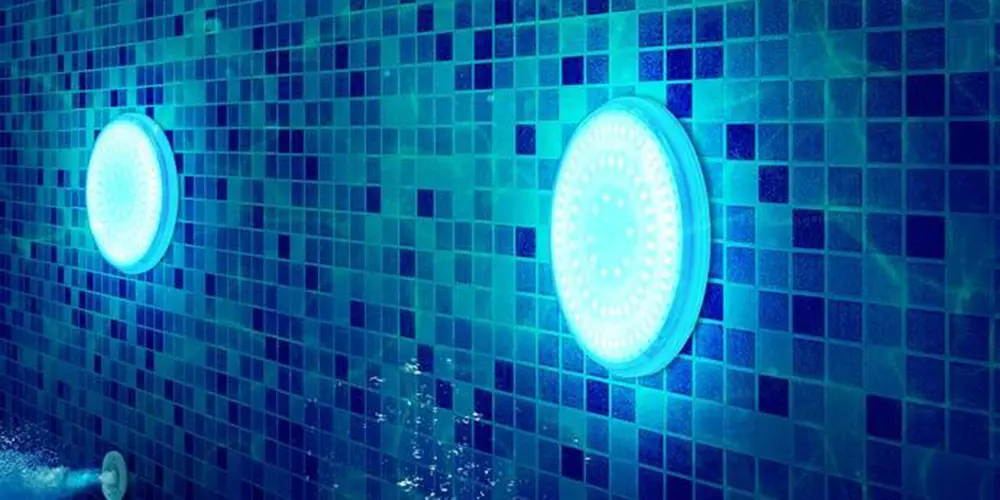
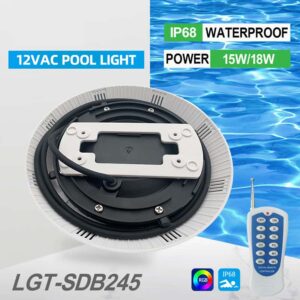
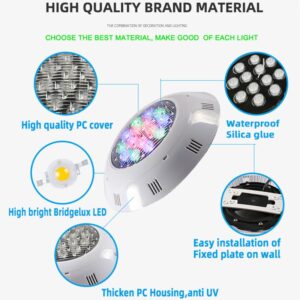
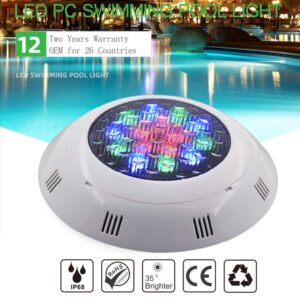
- LED lights: LED lights are more energy-efficient than incandescent lights and have a longer lifespan. They also come in a variety of colors and sizes, making them a popular choice for pool lighting.
- Fiber optic lights: These lights use a bundle of optical fibers to transmit light. They are more expensive than other options but offer more options for customization and can be used to create a unique lighting design.
Step 2: Measure the pool
Before you purchase your lights, you will need to measure your pool to determine the number and type of fixtures you need. Measure the length, width, and depth of your pool and consult with the manufacturer to determine the number of lights required.
Step 3: Choose the location for the lights
Once you have determined the number of lights you need, you will need to choose the location for the lights. Submersible lights can be installed in the wall of the pool, on the floor of the pool, or in the pool steps. Consider factors such as the location of the electrical panel and the overall aesthetic of your pool when choosing the location for the lights.
Step 4: Gather the necessary tools and materials
Before you begin the installation process, gather all of the necessary tools and materials. You will need:
- Submersible lights
- Light fixtures
- Electric drill
- Hole saw
- PVC glue
- Electrician’s tape
- Waterproof silicone sealant
Step 5: Install the lights
Once you have all of your tools and materials, you can begin the installation process. Here are the general steps for installing submersible lights:
- Use the hole saw to cut holes in the pool wall or floor where the lights will be installed.
- Run the electrical wiring for the lights through the holes and attach the light fixtures to the pool wall or floor.
- Apply PVC glue to the light fixtures to secure them in place.
- Apply waterproof silicone sealant to the edges of the holes to prevent water from entering the pool.
- Connect the lights to the electrical panel and test them to ensure they are working properly.
Step 6: Maintain the lights
Once the installation process is complete, it is important to maintain your lights in order to ensure they last as long as possible. This includes:
- Cleaning the lights regularly to remove debris and dirt
- Checking the wiring and connections for any signs of wear or damage
- Replacing bulbs as needed
- Making sure the lights are not left on for extended periods of time
In conclusion, attaching submersible lights to your pool can be a DIY project, but it’s advisable to hire a professional electrician to ensure the safety and longevity of the lighting installation. There are many different options available when it comes to submersible lights, so take the time to research and choose the option that best suits your needs and budget