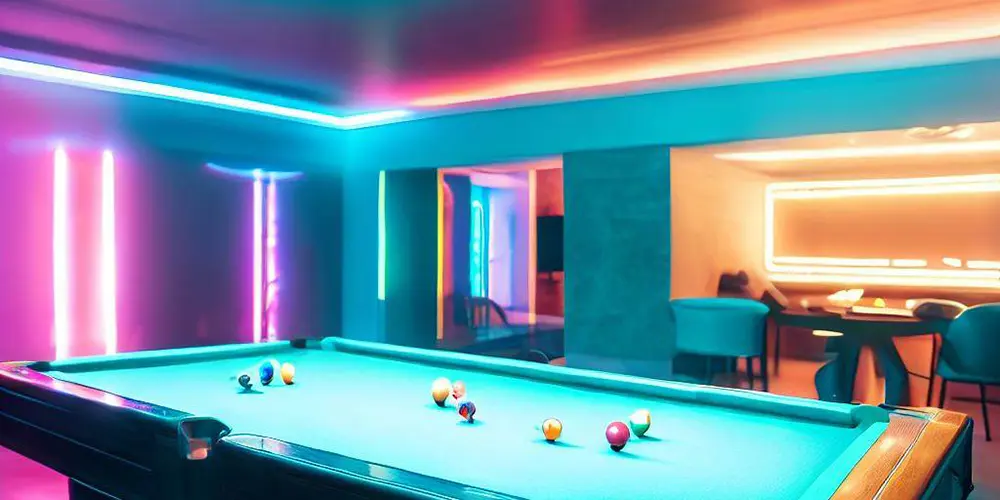
LED lighting has transformed the way we illuminate spaces, and this transformation extends into the world of gaming too. Pool tables, for instance, have not been left behind in this lighting revolution. Pool players now have the opportunity to enjoy their favorite game under enhanced, aesthetically pleasing lighting conditions. This blog post will guide you through the process of installing LED lighting on your 8ft pool table bumpers.
How to Install Led lighting on 8ft Pool Table Bumpers
Step 1: Understand Your Lighting Needs:
Before diving into the installation process, it’s vital to understand what you want to achieve with your LED lighting. Are you aiming for a subdued, atmospheric glow or a bright, clear light that enhances visibility? Your goal will determine the kind of LED strip lights you need. Also, keep in mind that the color and the intensity of the LED lights should suit your pool room’s ambiance.
Step 2: Purchase Your LED Lights:
After defining your needs, it’s time to purchase your LED strip lights. These are available in various types and sizes, so make sure to choose ones that are flexible, adhesive-backed, and of a suitable length for your 8ft pool table. They should also be durable and have a suitable color temperature.
Step 3: Plan Your Installation:
Before starting the installation, plan out where you’ll place your LED lights on the pool table bumpers. Measure the length of the bumpers and mark out where you will place your LED strips. Ensure the LED strips won’t obstruct the pockets or interfere with the game.
Step 4: Prepare Your Bumpers:
Clean the surface of your pool table bumpers thoroughly. This is crucial because adhesive-backed LED strip lights adhere best to clean, dust-free surfaces. Use a mild detergent or a cleaning solution that won’t damage the bumpers’ surface.
Step 5: Install Your LED Lights:
Now, peel off the adhesive backing from your LED strip and carefully stick it onto the pool table bumpers. Begin from one end and smoothly proceed to the other, ensuring the strip is straight and firmly attached. If your LED strip is longer than your bumper, cut it to size, ensuring you do so at the marked points on the strip to prevent damage.
Step 6: Connect the LED Lights:
Most LED strip lights come with a connector for easy installation. Connect your LED strips to the power supply, and ensure all connections are secure. If your LED strip lights are not battery-powered, ensure your pool table is close to a power outlet or use an extension cord.
Step 7: Test Your Lighting:
The final step is to test your newly installed LED lighting. Switch on the lights and observe the illumination. Make any necessary adjustments to ensure the lighting is evenly distributed and achieves the desired effect.
Implementing LED lighting on your 8-foot pool table bumpers can substantially elevate the quality of your gaming experience. This is achieved not only through improved visibility but also through the addition of a visually stimulating component to your gameplay. The guide presented herein offers a systematic approach, allowing you to perform this task with a degree of professionalism. Nevertheless, if any aspect of the installation process leaves you uncertain, it is highly recommended to seek advice or employ the services of a professional. Prioritize safety at all times when interacting with electrical systems. We trust that you will relish your newly enhanced, optimally lit pool playing sessions.